In our project, the web server will be running on Nginx. Of course Apache is another great web server, but here, I’ll use Nginx v1.12.2. If you’d like the Apache version of this article, please click here.
Prerequisites
- A VPS with Centos 7 installed
- Root access to the server
What do we want?
We want to set up a server so as it should run website on Nginx. The site should also run on SSL.
Procedure
1. Login to your server as root
2. Install Nginx web server and mod_ssl
[root@web
~]# yum install -y nginxmod_ssl
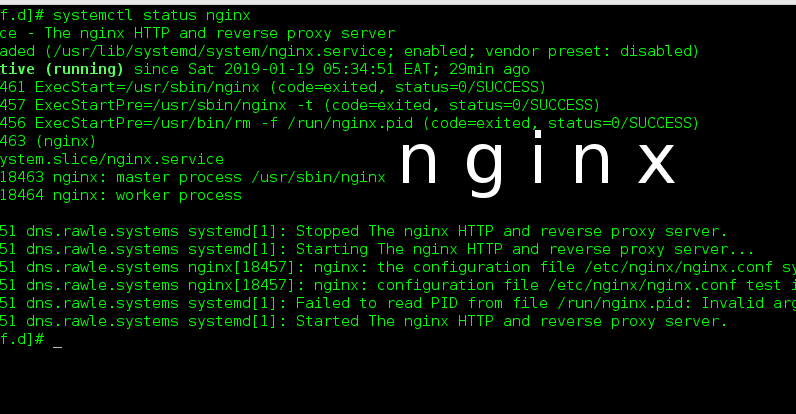
3. Start and enable Nginx
[root@web
~]#
systemctl start nginx
[root@web
~]#
systemctl enable nginx
4. Install php 7.0 as below:
-
Install epel
reposirory
[root@web
	~]#
yum install epel-release -y -
Install
yum-utils. We need it for the yum-config-manager package
[root@web
	~]#
yum install yum-utils -
Enable remi
repository for installing php7.0
[root@web
	~]#
yum-config-manager --enable remi-php70If you would like to install php 7.1 or 7.2, replace the 70 in the command above with 71 or 72 respectively. -
Run the
command below to install php 7.0 with some necessary modules
[root@web ~]# yum install php php-mcrypt php-cli php-gd php-curl php-mysql php-mysqli php-ldap php-zip php-fileinfophp-fpm(Note: php-fpm is particularly important for Nginx webserver. Without it, you’ll get error 502: Bad Gateway) - You can then check if your php version has been installed [root@web ~]# php –version
5. Create a vhost
We now need to define a vhost file that will have the nginx directives for our site eg Document root.
Navigate to /etc/nginx/conf.d folder and create a file called example.com.conf. Copy the following in the file and save.
server
{
listen 80;
server_name example.com
www.example.com;
#force http to https
return 301
https://$host$request_uri;
access_log
/home/example/public_html/logs/access.log;
error_log
/home/example/public_html/logs/error.log;
root
/home/example/public_html;
index index.html index.php;
}
From the above vhost, our document root is located in /home/example/public_html . This is a path we created so as to act as Document root instead of the normal /usr/share/nginx/html folder. You may specify another location as you wish but make sure the permissions are okay for access. Rule of thumb is: All directories should be 0755 while all files should be 0644
Now restart Nginx
[root@web
~]#
systemctl
restart nginx
6. Upload content to your root folder. You may use any method available for you including FileZilla(needs FTP installed ) or a nice solid command such as scp which uses SSH to transfer files
Your website should now be well accessible online via a browser. To complete the setup, however, we need to install SSL certificate for the domain. It’s a good habit to install SSL for your site, the world is moving to a 100% encrypted internet.
7. Install SSL
- Generate CSR for your domain. Click here to learn how to do this from the command line.
- Obtain your SSL certificate from preferred vendor using the CSR you generated and upload them to a folder on your server. I recommend you save them in the same folder as the CSR and Key in the step above
- Force the domain to load via SSL. Here, you will first define a section for Nginx to listen to port 443 and then also include a line that forces all http requests to https. Below is the new config file
server
{
listen 80;
server_name example.com
www.example.com;
#force http to https
return 301
https://$host$request_uri;
access_log
/home/example/public_html/logs/access.log;
error_log
/home/example/public_html/logs/error.log;
root
/home/example/public_html;
index index.html index.php;
}
#
Settings for a TLS enabled server.
server {
listen 443 ssl http2
default_server;
server_name example.com
www.example.com;
access_log
/home/example/public_html/logs/access.log;
error_log
/home/example/public_html/logs/error.log;
root
/home/example/public_html;
index index.html index.php;
ssl_certificate
"/home/example/certs/example.com.crt";
ssl_certificate_key
"/home/example/certs/example.com.key";
ssl_session_cache shared:SSL:1m;
ssl_session_timeout 10m;
ssl_ciphers HIGH:!aNULL:!MD5;
ssl_prefer_server_ciphers on;
}
Replace the respective paths to the files with your actual ones.
8. Restart Nginx.
[root@web ~]#
systemctl
restart
nginx
That should do it. Now you have your site up and running on SSL!