
Flask is a Python micro framework that is very popular. In this guide we will deploy a Flask application on an Ubuntu 20.04 server using Apache Web Server and Passenger. Passenger is an open source web application server
Prerequisites
- A domain name (or subdomain) we’ll use to access our deployed application
- A server installed with Ubuntu 20.04
- Python 3.x. Our sample app runs on python 3.
- Your application should be pushed to Github or Gitlab. I use Gitlab here
Procedure
1. Acquire a server.
Your choice of Cloud Provider for your applucations depends on your preferences. There are many such as AWS, GCP, Azure, Digital Ocean, Linode, Vultr and in Africa, Truehost Cloud
2. Uninstall Python 2 (If it comes by default with your installation) and Install Python3
To uninstall Python 2, run the commands below
sudo apt remove python2
sudo apt remove python-is-python2
sudo apt autoremove --purge
To install python3, run the command below
sudo apt-get update
sudo apt-get install -y python3 python3-pip
You can then run the command below to set aliases for python and python3 commands
sudo apt-get install python-is-python3
3. Install Apache
sudo apt-get install apache2
4. Install Passenger and Apache modules Install Passengers PGP key and enable https support for APT
sudo apt-get install -y dirmngr gnupg
sudo apt-key adv --keyserver hkp://keyserver.ubuntu.com:80 --recv-keys 561F9B9CAC40B2F7
sudo apt-get install -y apt-transport-https ca-certificates
Add Passenger’s repo
sudo sh -c 'echo deb https://oss-binaries.phusionpassenger.com/apt/passenger bionic main > /etc/apt/sources.list.d/passenger.list'
sudo apt-get update
Install Passenger and Mod Passenger
sudo apt-get install -y libapache2-mod-passenger
You can then enable the passenger module, so it automatically starts on reboot
sudo a2enmod passenger
systemctl restart apache2
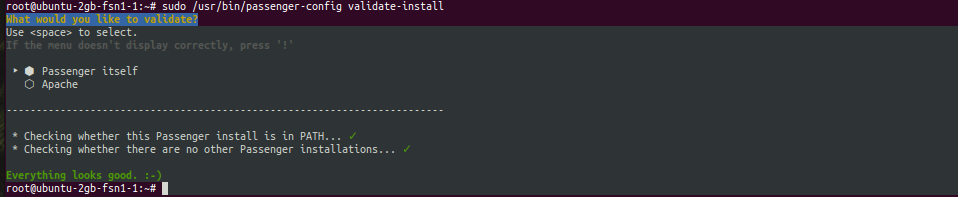
Validate whether Passenger has been installed properly
sudo /usr/bin/passenger-config validate-install
5.On the server, create a user for your App. By convention, the user has the same name as the app. In my case here, I will use the username portfolio
useradd portfolio
passwd portfolio
6.Install Git
sudo apt-get install -y git
7.Upload your application files. We’ll use git and pull our app from Gitlab
We’ll first navigate to the application folder location. This is /var/www/portfolio for me
sudo mkdir -p  /var/www/portfolio
sudo chown portfolio: /var/www/portfolio
Replace the first portfolio with your App User created in step 5 above and the last portfolio with your App document root. To pull our code, run the following
cd /var/www/portfolio
sudo -u portfolio -H git clone https://gitlab.com/wwmwabini/portfolio.git code
Replace the git URL with your application URL
8.Install app dependencies.
Most times, dependencies should be included in your requirements.txt file. If you didn’t create this, you can first go back to you development environment and run the command below to get your packages into a requirements.txt file
pip freeze >> requirements.txt
Once you get it and upload it to the server, run the command below to install packages
pip3 install -r requirements.txt
9.Configure Apache and Passenger to serve your application
Create a VHOST for your application
sudo vim /etc/apache2/sites-enabled/portfolio.conf
Copy the content below into your portfolio.conf file.
<VirtualHost *:80>
    ServerAdmin [email protected]
    ServerName ww.mwabini.co.ke

    # Tell Apache and Passenger where your app's code directory is
    DocumentRoot /var/www/portfolio/code/
    PassengerAppRoot /var/www/portfolio/code

    # Tell Passenger that your app is a Python app
    PassengerAppType wsgi
    PassengerStartupFile passenger_wsgi.py

    ErrorLog /var/www/ww.mwabini.co.ke/logs/error.log
    CustomLog /var/www/ww.mwabini.co.ke/logs/access.log combined

    Alias /static/ /var/www/portfolio/static
    <Directory /var/www/portfolio/static>
        Order allow,deny
        Allow from all
    </Directory>

</VirtualHost>
Replace ww.mwabini.co.ke with your server’s host name, replace /var/www/portfolio/code with your application’s code directory path and replace passenger_wsgi.py with your app’s WSGI entry point file.
10.Restart Apache
systemctl restart apache2
Congrats! Your site is now deployed and should be accessible via your server’s hostname, in my case, ww.mwabini.co.ke
Troubleshooting
If your site does not load, you can troubleshoot it by enabling error display on the site, or reviewing the logs. You can remove the friendly page of Passenger by adding the directive below in your VHOST just under PassengerStartupFile passenger_wsgi.py line
PassengerAppEnv developmentThis will display the actual error on the site and allow you to troubleshoot. Once done, remove the line or comment it out.
Once you enable errors display as above there are 2 errors you may encounter
- /bin/sh: 1: exec: python: not found
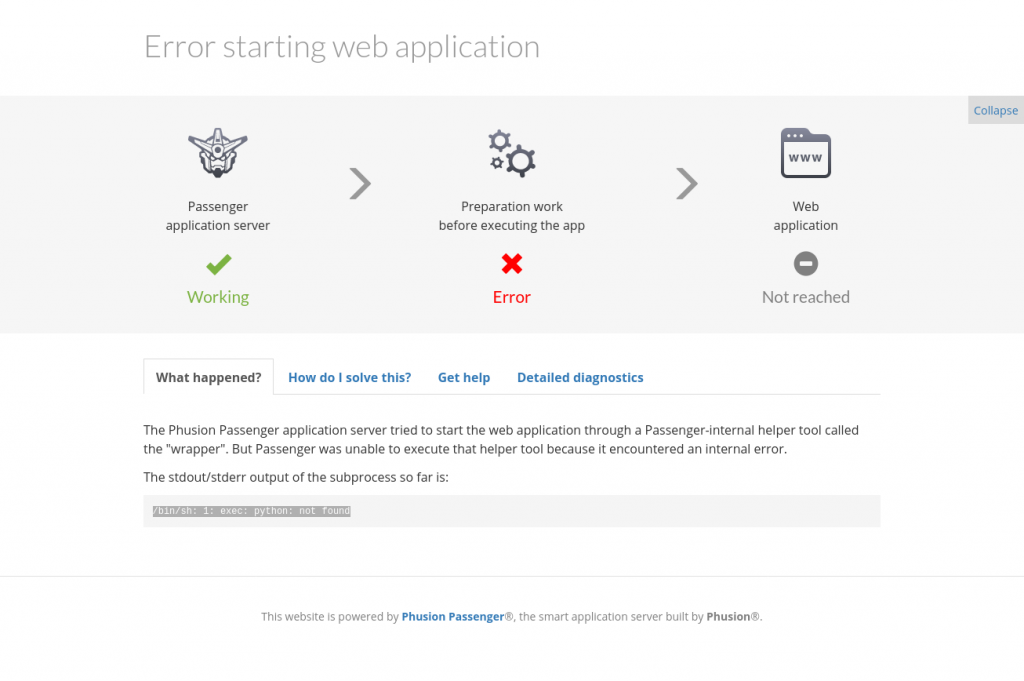
CAUSE: A probable cause for this is the missing Python 2 since we uninstalled it. Passenger is trying to execute the python code using python command but misses it because the command is normally used with python 2 by default.
FIX: The solution is to install aliases that map python command to python3 using the command below
apt-get install python-is-python32.ImportError: No module named flask
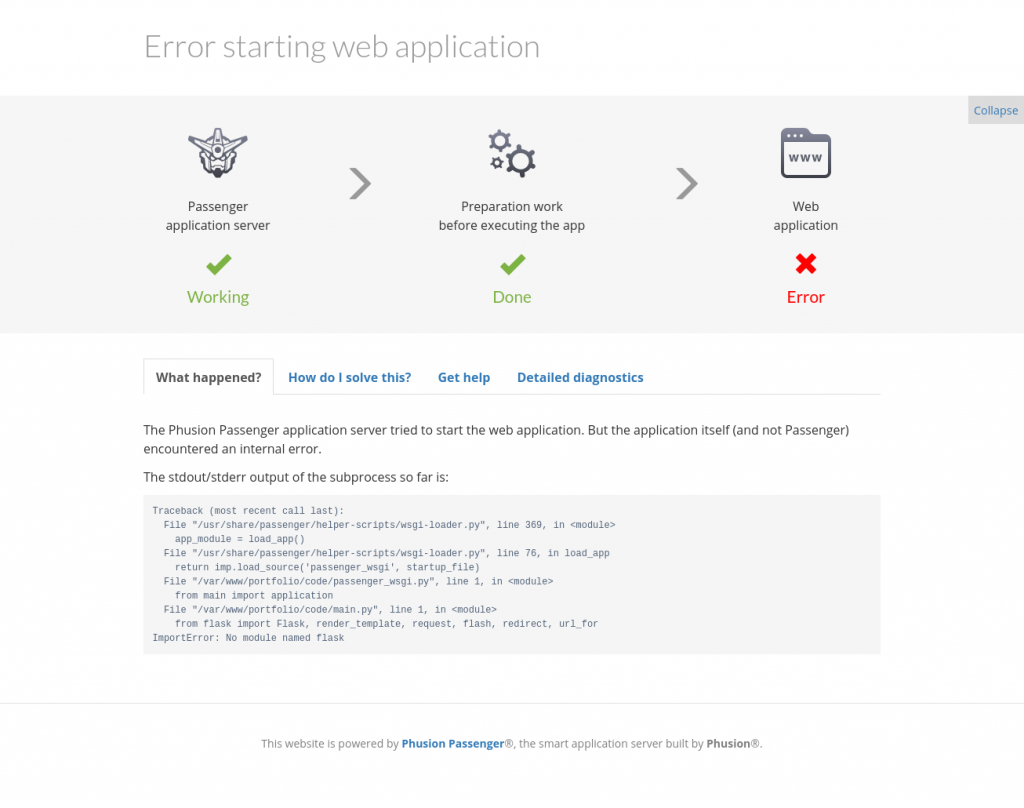
CAUSE: A probable cause for this is missing flask module because when we installed it, it was installed in python2 yet our app uses python3. This is why we started by removing python 2.
FIX: Remove python 2 as your app does not need it and use python3, then run the command below to avoid error 1
apt-get install python-is-python3
NOTE: This solution best works for you if the only thing running on your server is the Flask application. If this is on localhost, where you probably have some desktop applications that need python 2, its probably not a good idea to uninstall python2. In that case, you need to either deploy the app on a virtual environment (e.g using PyCharm) or install VirtualBox where you can spin up a server for operations without affecting your localhost setup.
3.Error in database connection
If your app uses MySQL 8 and you experience issues connecting to the database, you may consider using the checking the below solution on stack overflow
https://stackoverflow.com/questions/39281594/error-1698-28000-access-denied-for-user-rootlocalhost